


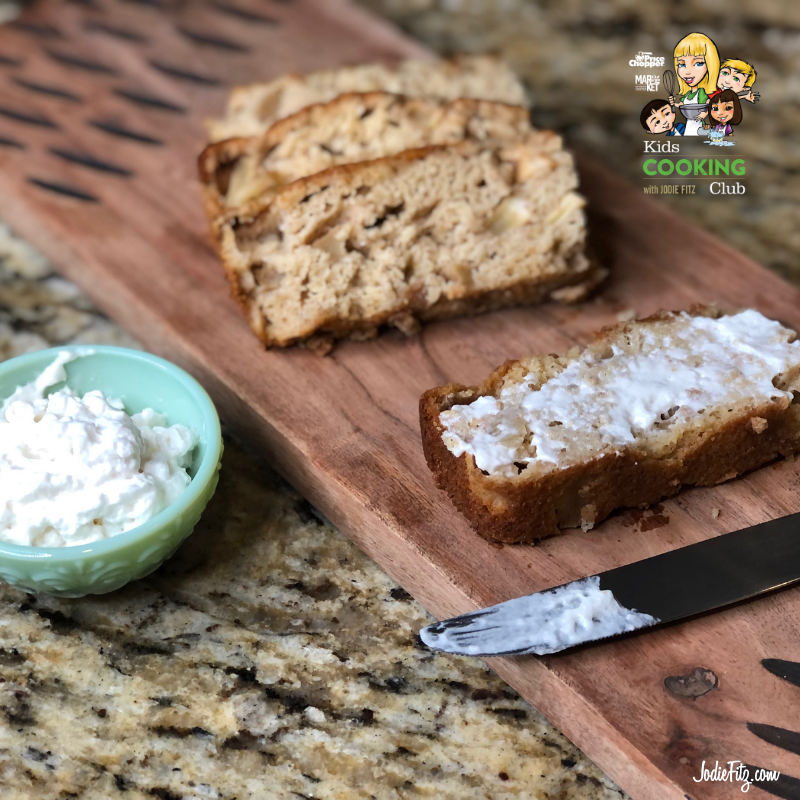
KCC Peach Bread by Jodie Fitz
Perfect for a breakfast sandwich on the run, this bread can also be used to change up a lunchbox sandwich or after-school snack.
4 peaches
1 ½ teaspoons PICS cinnamon
2 PICS eggs, large
½ cup PICS brown sugar
½ cup PICS organic cane sugar
4 oz. PICS cinnamon applesauce
1/3 cup PICS milk, low fat
1 teaspoon PICS vanilla extract
1 ¾ cups PICS all-purpose, unbleached flour
1 tablespoon PICS baking powder
½ teaspoon PICS sea salt
Preheat oven to 350 degrees.
Wash and peel peaches. Remove pits, then slice and dice.
In a bowl, mix diced peaches with 1 teaspoon cinnamon until evenly distributed and fully coated. Set aside.
In a separate bowl, combine eggs, sugars, applesauce, milk and vanilla extract. Mix well with an electric mixer.
In another bowl stir together ½ teaspoon cinnamon, flour, baking powder and salt.
Add dry ingredients to the egg mixture and combine using an electric mixer.
Fold peaches into the batter.
Grease an 8” x 8” glass baking dish. Pour batter into the dish, making sure to spread evenly.
Bake for 50 minutes. Let cool completely before slicing and serving,
Sandwich Spread: Stir together 3 tablespoons PICS cream cheese with 1 tablespoon PICS honey. Spread between two slices of peach bread to make a sandwich. (This mixture will make two sandwiches.)
Removing the pit: With an adult’s help and permission, use a paring knife to carefully slice into the peach until you reach the pit Slowly cut all the way around the pit of the peach. Set the knife down and twist the peach halves in opposite directions to separate the two halves. Remove the pit and discard.
Cooking with Kids: Every recipe is filled with life skills that help to encourage children’s confidence in the kitchen. Here are a few to focus on when making this recipe;
- Peeling and peeler safety
- Slicing, dicing and knife safety
- Peach pit removal
- Electric mixer safety
- Stirring and/or folding
- Spreading
- Baking and oven safety
- Measuring ingredients
- Following directions
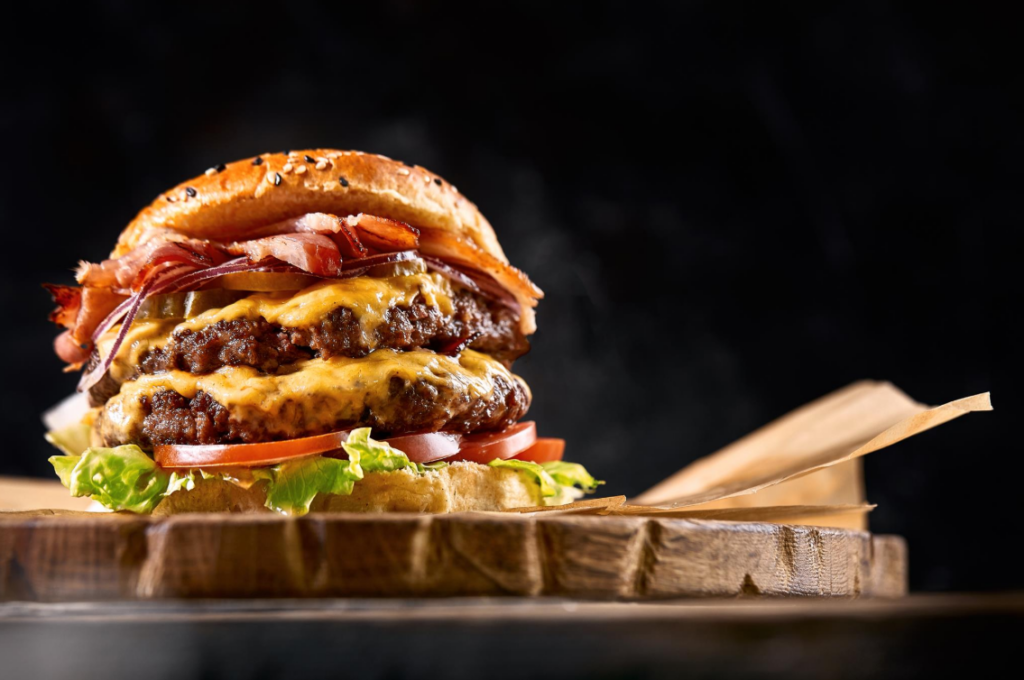
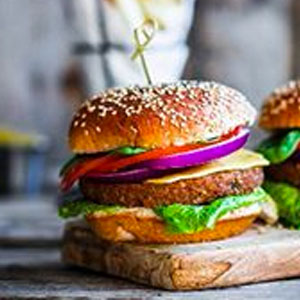
Build Your Own Burger Toppings
Break out the buns and fire up the grill, it’s National Cheeseburger Day! Today we celebrate a classic meal that is near and dear to our hearts. The best thing about cheeseburgers, you can always build your own, stacked high with your favorite toppings. You can stick with your go-to or switch it up each time. Personally, we like to be creative and switch it up. Check out some of our favorite build your own burger toppings!
Chiles: If you’re like us, you love a little kick to your food. Chiles elevate any good burger with great heat and flavor.
Mushrooms: Grilled of sauteed mushrooms make a great addition to your cheeseburger. We recommend using swiss cheese as it works as the best complement.
Avocados: Avocados are creamy and delicious, plus they make your burger more filling. More satisfying, tastier, why wouldn’t you add avocado?
LTO: LTO aka lettuce, tomato, onion. Sometimes you’re in the mood for a good old fashioned, classic cheeseburger. A little LTO will get you there.
Coleslaw: Coleslaw is commonly viewed as a side dish. But who needs a side dish when you can just add it to your cheeseburger?
Pineapple: Give your cheeseburger a more tropical feel by adding pineapple. Throw some BBQ sauce for a top-notch burger combination.
Maple Syrup: Maple syrup is good with bacon. Bacon is good on cheeseburgers. Therefore, maple syrup must be awesome on bacon-topped cheeseburgers. It’s simple science.
Fried Egg: If you’re in the mood for something extra, add some fried egg to your cheeseburger. We like to save this one for special occasions.
Mac & Cheese: It is a cheeseburger after all, make it extra cheesy and extra delicious.
Kettle Chips: Another side dish that is sometimes better off just on the burger. We prefer kettle chips over regular potato chips for the extra crunch factor.
Hummus: Hummus brings a little swagger to your cheeseburger. Brings more flavor and a Mediterranean flair to the plate.
Fried Green Tomatoes: Replace the old red tomatoes with some southern-style, bold fried green tomatoes. Crunchy and tangy these are top tier in our book.
We could easily go on for days with fantastic cheeseburger toppings, but these are on the top of our list. Try out these toppings for yourself if you haven’t yet. For more inspiration, check out our burger recipes. At Price Chopper & Market 32 we have everything you need to make the most of National Cheeseburger Day.
Find ground beef on the cover of our ad next for $2.99 lb.
Shop Burger Essentials & Toppings
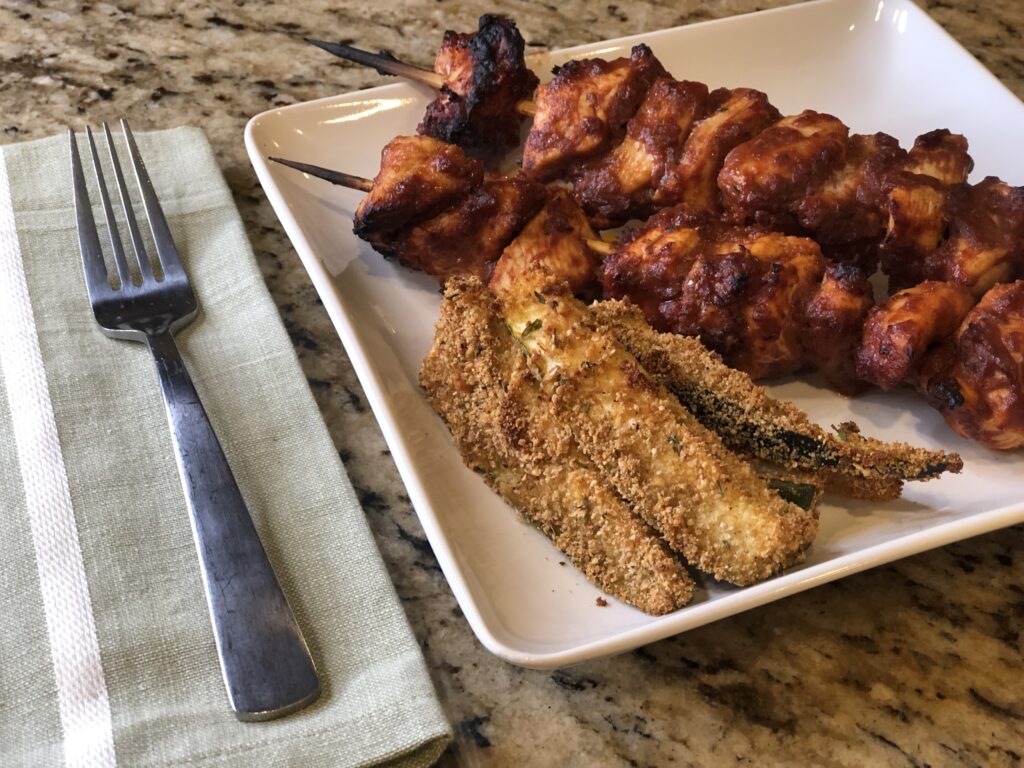
KCC Italian Chicken Kabobs and Zucchini Fries
by Jodie Fitz
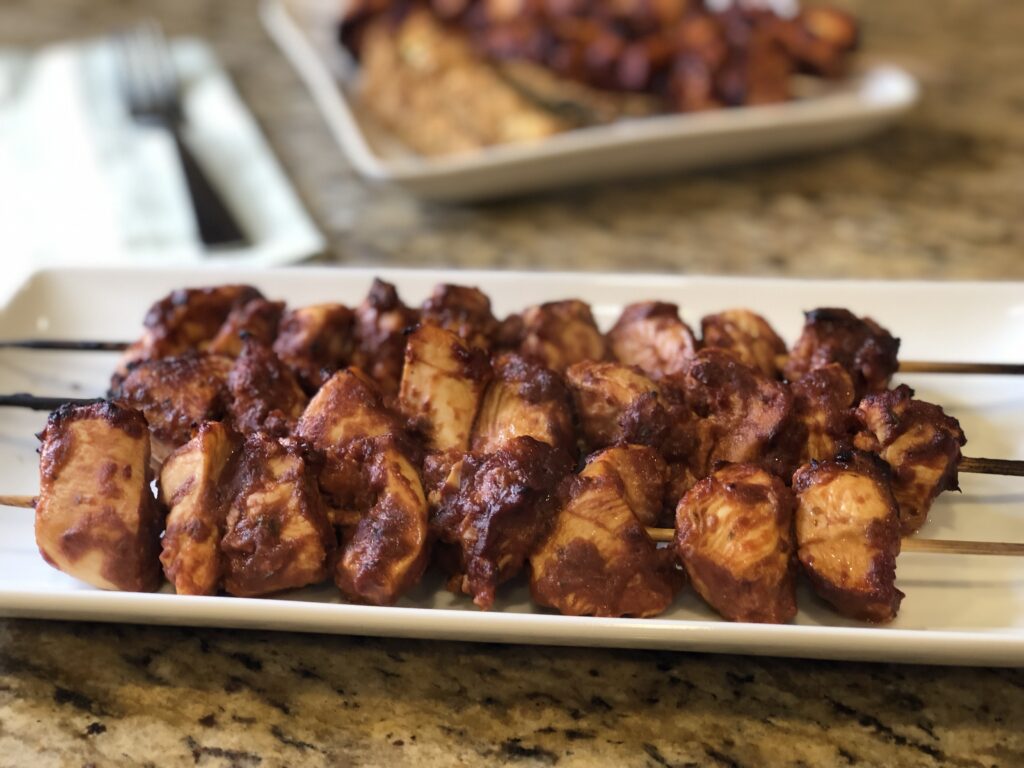
Italian Chicken Kabobs
4 lbs. boneless chicken breast
6 oz. PICS tomato paste
¼ cup PICS balsamic vinegar
3 tablespoons PICS olive oil
1 tablespoon PICS Italian seasoning
1 teaspoon PICS onion powder
½ teaspoon PICS sea salt
½ teaspoon PICS garlic powder
Skewers
If using wooden skewers, soak in water for 20 minutes before threading chicken and cooking.
Stir together the tomato paste, balsamic vinegar, olive oil, Italian seasoning, onion powder, sea salt and garlic powder.
Cut the chicken into 1 ½ inch chunks and add to the marinade, making sure it’s well coated. Cover and refrigerate for 1 hour.
Carefully thread chicken pieces onto the skewers and place on a broiler pan or baking sheet.
Broil on medium to high until fully cooked, 15-20 minutes, depending on size of the chicken pieces. Rotate half way through.
Time Saving Tip: Toss the chicken and marinade together in a freezer bag or other airtight container, making sure it’s completely coated, and freeze. You can pull the marinated chicken from the freezer to defrost and marinate for a quick meal solution.
Clean Up: Line your pan with foil before adding the chicken kabobs, for easy clean up.
Cooking with Kids: Every recipe is filled with life skills that encourage children’s confidence in the kitchen. Here are a few to focus on when making this recipe:
- Following directions
- Measuring ingredients
- Cutting and knife safety
- Stirring
- Skewering
- Marinating
- Broiling and oven safety
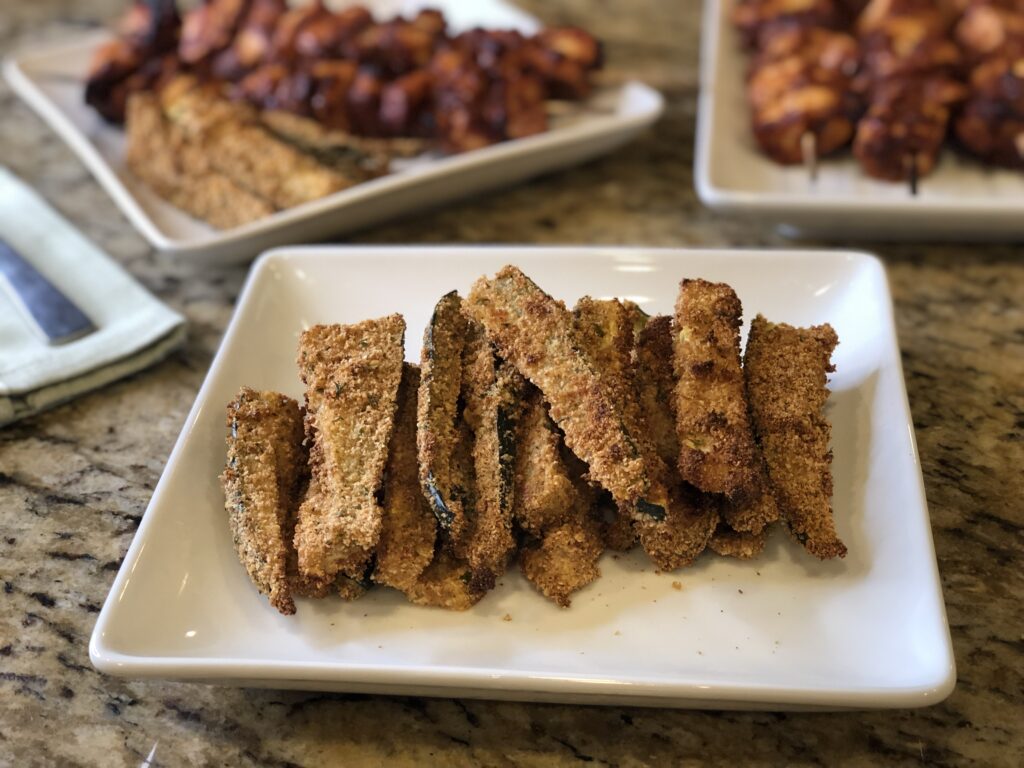
Zucchini Fries
2 small to medium zucchini
1 cup PICS whole wheat seasoned bread crumbs
¼ cup PICS parmesan cheese, finely grated
1 ½ teaspoons PICS onion powder
1 teaspoon PICS paprika
¾ teaspoon PICS garlic powder
½ teaspoon PICS sea salt
¼ teaspoon PICS black pepper
2 PICS eggs
Preheat the oven to 425 degrees.
Remove ends of zucchini. Cut in half lengthwise, then cut each half in half again, creating four quarters. Cut each quarter into thin s to create zucchini fries.
In a bowl, stir together the seasoned bread crumbs, Parmesan cheese, onion powder, paprika, garlic powder, salt and pepper.
Whisk eggs.
Dredge zucchini fries in the eggs and then in the seasoned bread crumbs, until fully covered.
Place fries on a parchment paper-lined baking sheet.
Bake for 15 to 20 minutes.
Heating leftovers: Heat leftover zucchini fries on a parchment-lined baking sheet in a preheated oven at 400 degrees, until crispy and heated all the way through, 10-15 minutes.
Cooking with Kids: Every recipe is filled with life skills that encourage children’s confidence in the kitchen. Here are a few to focus on when making this recipe:
- Following directions
- Measuring ingredients
- Cutting and knife safety
- Whisking
- Stirring
- Dredging
- Baking and oven safety
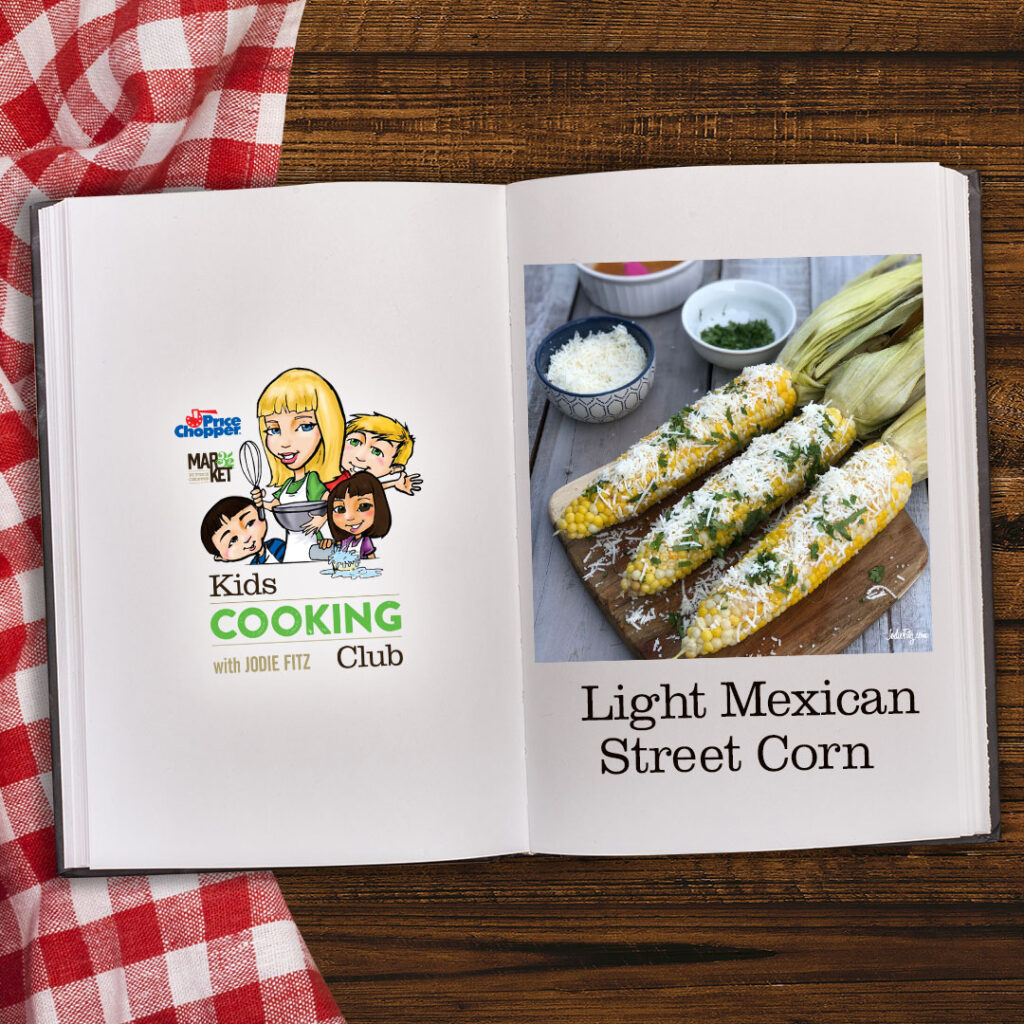
KCC Light Mexican Street Corn
by Jodie Fitz
3 ears fresh sweet corn
1/2 lime
2 tablespoons PICS canola oil
1 teaspoon PICS onion powder
1/2 teaspoon PICS sea salt
1/4 teaspoon PICS garlic powder
1/4 teaspoon PICS chili powder
4 oz. Cotija cheese
Fresh Cilantro
Preheat the oven to 350 degrees.
Remove any loose pieces from the husk and place the corn, in the remaining husk, directly in the oven on the rack.
Bake the corn for 40 minutes.
While the corn is cooking, squeeze the juice from the lime into a bowl. Add the canola oil, onion powder, sea salt, garlic powder and chili powder and stir together.
Finely shred the Cotija cheese and set aside.
Finely chop the cilantro using herb scissors or a knife and cutting board.
Once the corn has finished cooking, remove from the oven with an oven mitt and let cool until warm. Peel the husk back.
Baste all sides of the corn with the spiced lime mixture. Sprinkle one side with cheese and cilantro.
Cotija cheese: You can find Cotija cheese in the specialty cheese section near the deli at your local Price Chopper/Market 32.
Fresh Cilantro: Fresh cilantro can be found in the produce area, typically near the bell peppers at your local Price Chopper/Market 32.
Traditional Mexican Street Corn: Traditional Mexican street corn typically involves corn buttered and rolled in a spiced sour cream, and sometimes mayonnaise mixture, and topped with Cotija cheese and fresh cilantro.
Little fingers: Remember young children can help cut softer items like the cilantro with a plastic knife.
Cooking with Kids: Every recipe is filled with life skills that encourage a child’s confidence in the kitchen. Here are a few to focus on when making this recipe:
- Cooking corn
- Baking and oven safety
- Extracting juice
- Chopping and knife safety
- Stirring
- Basting
- Shredding and grater safety
- Measuring ingredients
- Following directions
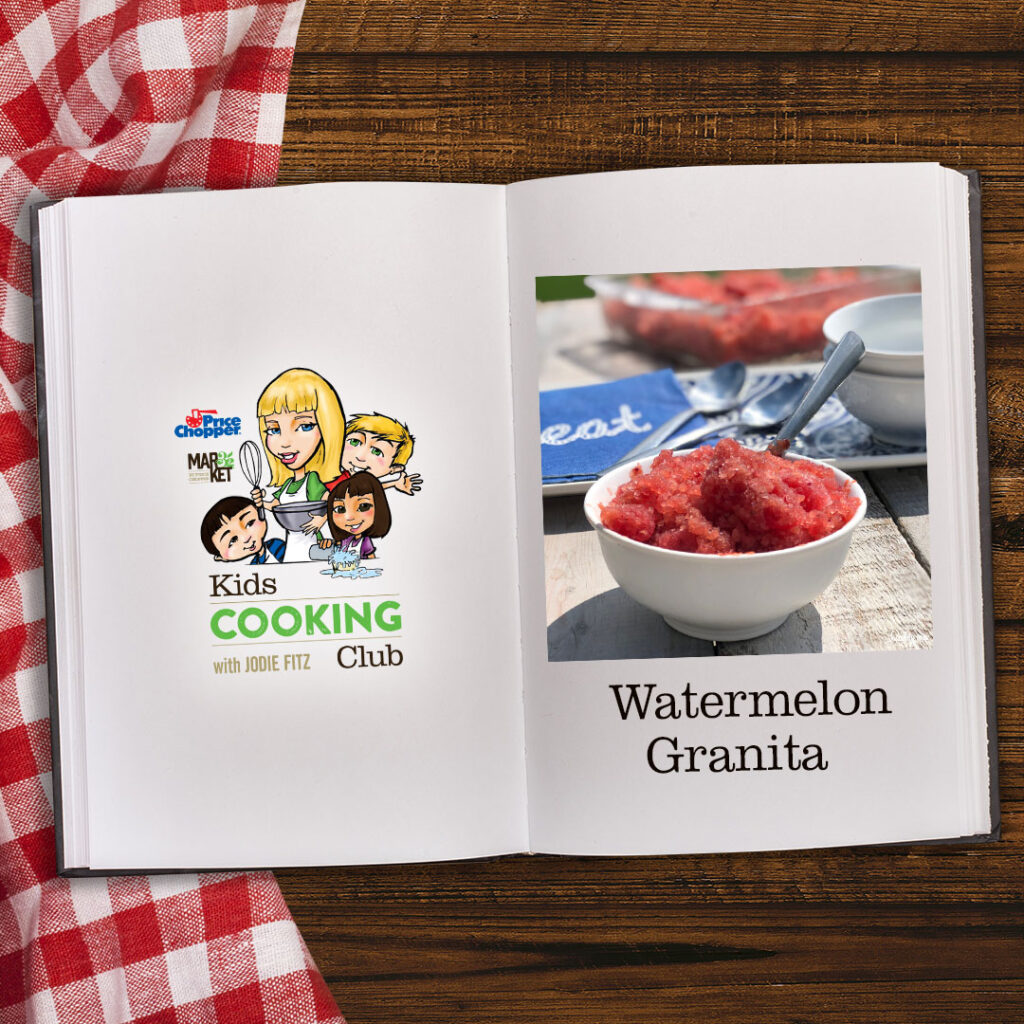
Watermelon Granita
by Jodie Fitz
3 cups diced watermelon
1 cup pitted fresh cherries
1 navel orange
2 tablespoons PICS honey
1 teaspoon PICS vanilla extract
Place the diced watermelon and pitted cherries in a blender.
Cut the navel orange in half and squeeze the juice from both halves into the blender. Add in the honey and vanilla extract. Blend all ingredients together until mixed well.
Pour the mixture into an 8 x 8 glass baking dish and freeze overnight.
Before serving, shave the iced mixture with a large serving fork, moving in different directions. Scoop and serve frozen.
Watermelon: You can save time and purchase pre-cut watermelon in the produce section of your local Price Chopper/Market 32.
Little hands: Young children can dice the watermelon using a plastic knife- a great way to help develop and strengthen motor skills, control and knife safety.
Pitting the Cherries: It’s simplest to pit cherries with a cherry pitter, but if you don’t have one, you can remove the stem and poke the pit through using a chopstick, toothpick, straw or even a thin pastry tip.
Leftovers: Store frozen fruit shavings in an airtight freezer container.
Alternative: Granita is a perfect, fruit-packed afternoon snack and great alternative to a traditional snow cone.
Cooking with Kids: Every recipe is filled with life skills that encourage a child’s confidence in the kitchen. Here are a few to focus on when making this recipe:
- Dicing and knife safety
- Pitting cherries
- Extracting juice
- Measuring ingredients
- Following directions
- Blending and blender safety
- Freezing
KCC Sun's Up Smoothie
by Jodie Fitz
3 cups ice
2 cups PICS 100% orange juice
1-cup PICS low fat milk
½ cup 100% pure carrot juice
1 banana
6 oz. PICS low fat vanilla yogurt
1 teaspoon PICS vanilla extract
1 tablespoon PICS honey
Add the ice, orange juice, milk, carrot juice, banana, yogurt, vanilla extract and honey into a blender. Blend the ingredients until the ice is fully crushed.
Serve and enjoy! After all, who doesn’t want to start their day with a cup of sunshine?
More on the Sun’s Up Smoothie Ingredients:
Dairy Allergies:
- The Milk: If you have a dairy allergy, replace the milk with your favorite dairy alternative. Depending on your allergy concerns, I suggest you consider rice milk or coconut milk for this recipe. The rice milk is very gentle in flavor. It allows the other flavors to ‘shine’ in this smoothie recipe. It does make the mixture a little icier. If you use coconut milk it adds a bit of a tropical flavor to this mix and is creamier. However, always use alternatives based on your dietary needs.
- The Yogurt: Replace the yogurt with one of your favorite vanilla dairy free yogurt alternatives based on your dietary needs. There are many great options on the market.
Leftovers? No worries turn them into freeze pops! Pour the leftovers into the 7 oz. PICS paper coated cups and place them in the freezer for one hour. Then add a wooden craft stick to the center and let them freeze overnight.
Carrot Juice: 100% carrot juice can be found in the produce aisle at Price Chopper/
Market 32 Supermarkets. There is also a delicious blend of 100% carrot juice with turmeric and ginger added.
Lessons for Children when making this smoothie recipe;
- Measuring ingredients
- Pouring
- Blending
- Blender Safety