


Written by our friends at the American Dairy Association
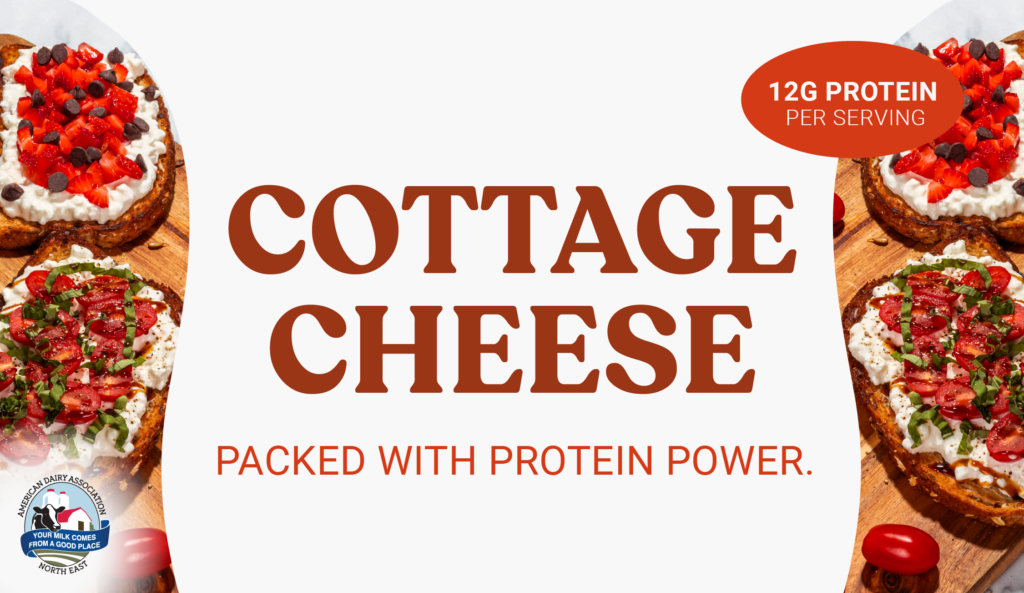
If you’re looking for a simple, nutritious food that works as hard as you do, cottage cheese is worth a second look. This fresh, mild-tasting cheese is making a comeback and for good reason. It’s packed with high-quality protein, essential nutrients, and endless ways to enjoy it.
One of cottage cheese’s biggest nutrition wins is its protein content. A half-cup serving of low-fat cottage cheese delivers about 12 grams of protein with only around 90 calories, making it a smart choice for anyone looking to stay full and energized throughout the day. Even more impressive, the protein in cottage cheese is primarily casein, a slow-digesting protein that helps support muscle repair and keeps you satisfied longer. That makes it a great option for busy mornings, post-workout recovery, or even a satisfying evening snack.
Beyond protein, cottage cheese offers a range of important nutrients your body needs. It’s a source of calcium, phosphorus, potassium, and vitamin B12—key players in maintaining strong bones and supporting overall health. Dairy foods like cottage cheese are linked to bone health across all life stages, helping build and maintain bone density as you grow and age.
Another benefit? Cottage cheese can support balanced blood sugar levels. With only about five grams of carbohydrates per serving and no added sugar in plain varieties, it’s a smart choice for those looking to manage energy and avoid spikes and crashes. Its protein content also slows digestion, helping you feel fuller longer and stay on track with your wellness goals.
Cottage cheese is also incredibly versatile—perfect for both sweet and savory meals. Spread it on toast, blend it into smoothies, or pair it with fruits, vegetables, or whole grains. If you’re looking for inspiration, try this delicious Cottage Cheese Toast for a quick, protein-packed meal or snack that fits seamlessly into your day.
When shopping, consider options like low-fat or reduced-sodium varieties to meet your nutrition needs, and check labels for added sugars in flavored versions.
Whether you’re fueling a busy day, supporting an active lifestyle, or simply looking for a satisfying snack, cottage cheese delivers a powerful combination of nutrition and convenience—making it an easy add-to-cart choice the next time you shop.

Market 32 and Price Chopper Customers Raise Over $51,000 for Hunger Relief and Rare Disease Research Through Plush Toy Campaign
Market 32 and Price Chopper customers generated $51,484 to support critical efforts to fight hunger and fund life-changing medical innovation through the purchase of limited-edition plush toys at all store locations. Each purchase directed $3 to two longtime nonprofit partners making a meaningful difference nationwide.
Proceeds from a collection of plush Highland cows totaled $29,401 for Feeding America, helping to provide meals and essential resources to individuals and families experiencing food insecurity across the country. Additionally, sales of a collection of plush hamsters raised $22,083 for Cure Rare Disease, which works to advance the development of customized genetic therapies for people living with rare and often life-threatening conditions.
“Our customers continue to show that small acts can add up to something truly meaningful,” said Danielle Tremblay, manager of community relations for Market 32 and Price Chopper. “Through this campaign, we’re able to support families facing hunger, while also invest in groundbreaking research that brings hope to those living with rare diseases. We’re proud to share that impact with our communities.”
Through initiatives like these, Market 32 and Price Chopper continue to connect everyday shopping with meaningful community impact—helping nourish lives today while supporting breakthroughs for tomorrow.
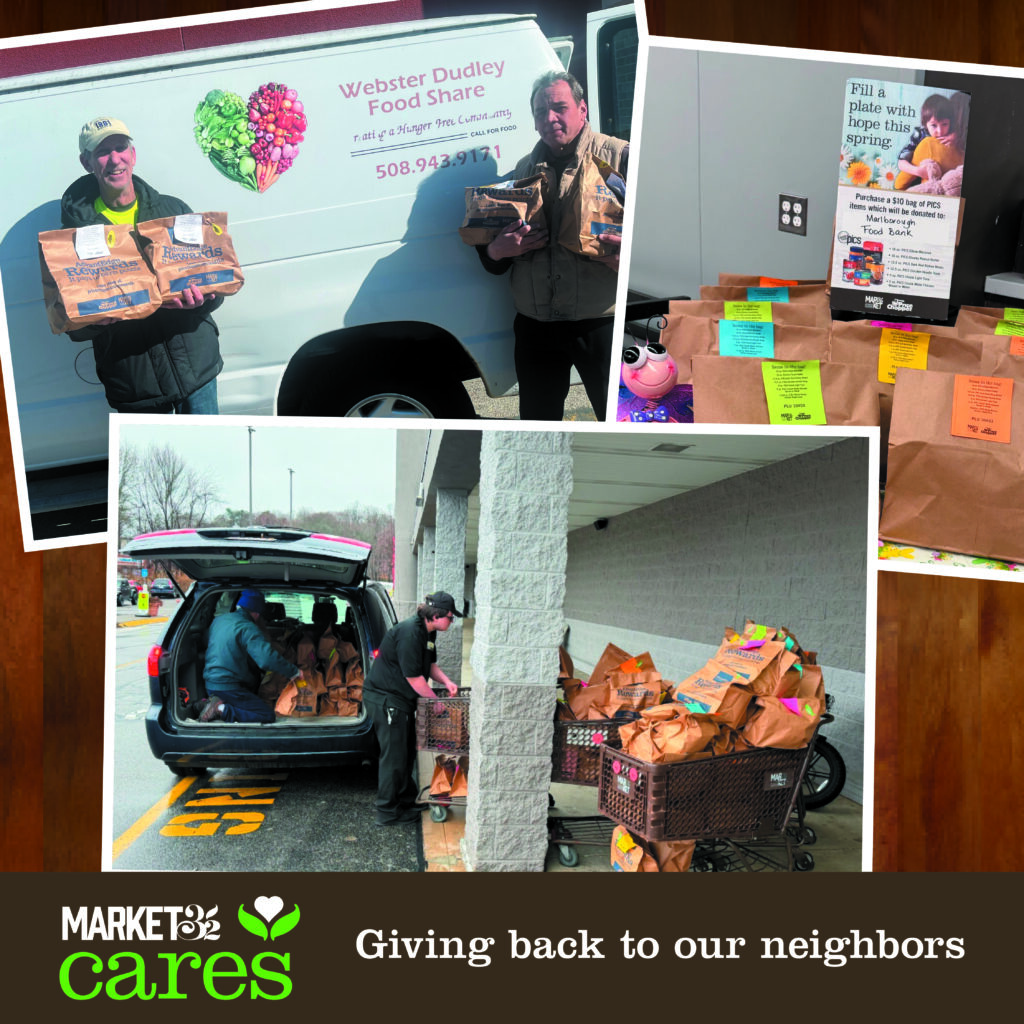
Market 32 and Price Chopper Customers Donate More than 24,000 Food Bags to Local Communities
Market 32 and Price Chopper customers are once again making a meaningful difference in their communities, donating 24,299 bags of food to local food pantries and hunger relief organizations across the Northeast.
Through the company’s $10 food bag program, which ran from March 15 to April 4 in stores, shoppers purchased pre-packed bags containing PICS-brand essentials, providing critical support to families and individuals experiencing food insecurity.
Each food bag included shelf-stable, nutritious items most requested by food assistance organizations, such as elbow macaroni, peanut butter, canned chicken and tuna, soup, and kidney beans—versatile ingredients that help form the foundation of healthy, balanced meals.
To ensure the donations have the greatest local impact, each store partnered with a nearby hunger relief organization, keeping support within the communities where customers live and work.
“Every bag purchased represents a neighbor helping a neighbor,” said Pam Cerrone, director of community relations for Market 32 and Price Chopper. “Together with our customers, we’re able to turn small acts into a collective force that helps ensure families have access to the nutritious food they need.”
The $10 food bag program is one of many ways Market 32 and Price Chopper are working to directly address food insecurity across their six-state footprint. Through customer-driven initiatives, fresh food recovery efforts, teammate volunteerism, and ongoing partnerships, the company remains committed to nourishing the communities it serves.
Composting Tips & Tricks
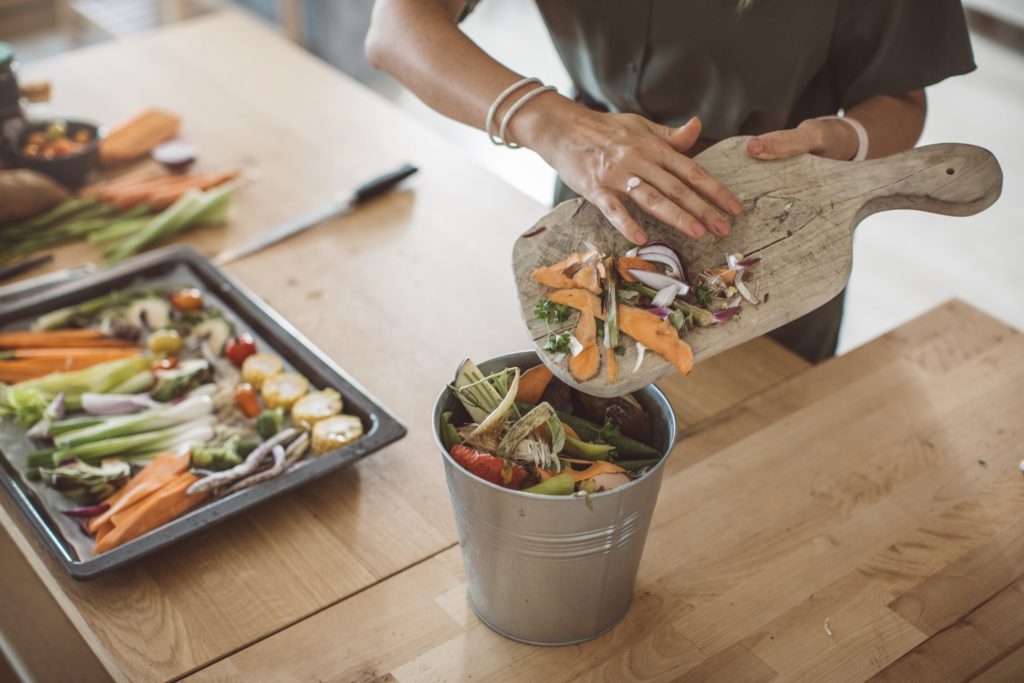
Reduce waste through composting! Compost is organic material that can be added to soil to help plants grow. Food scraps and yard waste are examples of compost, but usually these items are thrown away, rather than being composted. Making compost keeps these items out of landfills where they release methane and take up space.
All composting requires three ingredients: browns, greens, and water. Browns being dead leaves, branches, twigs. Greens being grass clippings, vegetable waste, fruit scraps, coffee grounds. And the right amount of water.
Any time is a good time to start composting, but spring is particularly advantageous. In spring, you can use the warmer weather to your advantage along with the increased activity of microorganisms and creatures. By composting, you will enrich your soil by retaining moisture and suppressing plant diseases and pests. You will also reduce your need for chemical fertilizers and methane emissions from landfills, lowering your carbon footprint.
For backyard composting, select a dry, shady spot near a water source for your compost pile. Add even amounts of browns and greens, making sure the larger pieces are shredded or chopped. For dry materials, make sure they are moistened as they are added to the pile. Once you have built your compost pile, mix grass clippings and green waste in and bury fruit and vegetable waste under 10 inches of material.
If you don’t have a proper space for outdoor composting, you can do so indoors with a specialized composting bin. When properly managed, an indoor bin will not attract pests or give off an unwanted scent.
Check out some more composting tricks:
- Fats, pet droppings, or animal dropping should not be compost. They will attract pests and can spread disease.
- Shredded newspaper or plain white paper works great as compost!
- Plants that have been treated with pesticides should not be used.
- Straw is an excellent source of carbon for your compost pile.
- Kitchen waste such as vegetable peels, fruit rinds, coffee grounds, tea bags, and egg shells can be fed to worms. Meat and dairy products should be avoided.
- Woody stalks or corn cobs usually decompose slower, smash with a hammer to make it easier for the microorganisms in your pile to break them down.
- Too many browns will make your pile hard to break-down. Too many greens will make your pile too smelly. Try layering each evenly.
- The more you add at once the quicker your pile will heat up. One big meal is better than several small snacks.
- When finished your pile should look, feel, and smell like rich, dark soil. The items you added should be unrecognizable.
- Relax, and stick to the process. Eventually you will make a great compost!
Sources: https://www.planetnatural.com/composting-101/tips/ – http://www.carryoncomposting.com/416920199 – https://www.epa.gov/recycle/composting-home
Earth Day Cuisine - The Plant Powered Plate
Earth Day, the largest secular observance event in the world, will be recognized again on its 56th anniversary, April 22nd. Over 1 billion people in 184+ countries will be engaged in activities and events that promote improved care and feeding of our unique planet.
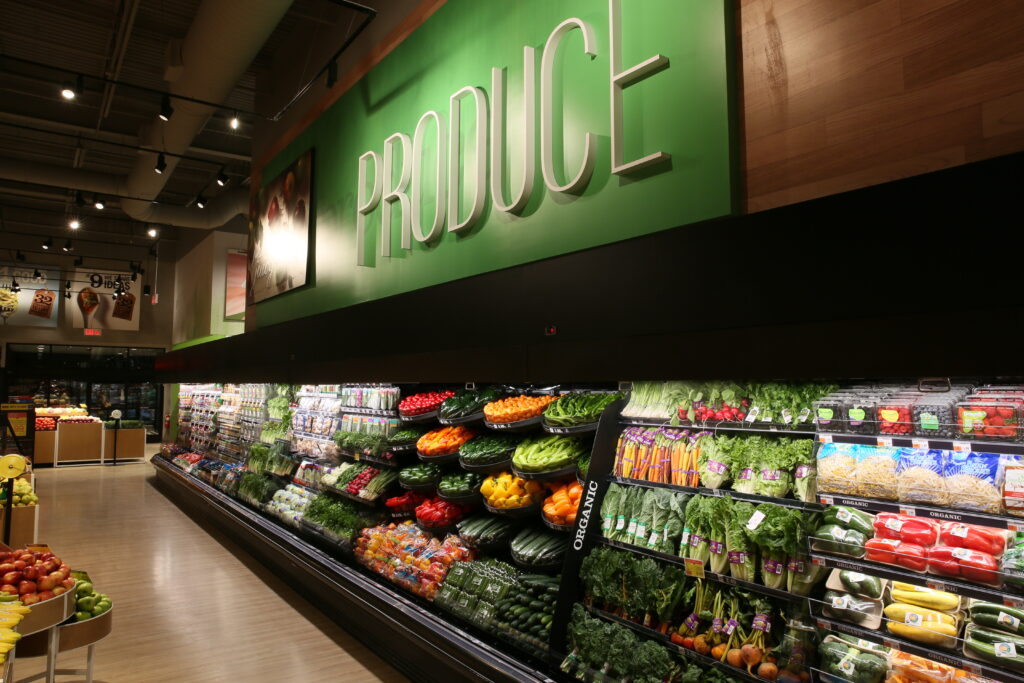
Adding more plants to your plate is one way to engage in supporting Earth Day, agriculture and individual health. Americans at every age and stage have plenty of room to add more plant-based foods. We fully support all efforts to add bounty and benefits of powering your plate with plants, and we have some resources to make it easy.
Recipe for a Plant Powered Plate
- Most people only eat just one vegetable one time per day – up the ante on that, double up veggie portions when you have them, and add some to all meals and snacks.
- Energize your day with a quick cup of 100% juice – a 4 ounce serving equals a full serving of fruit! Add 100% juice to water, vinaigrettes, marinades, or freeze in ice cube trays and bag up for a quick way to add flavor and benefits to your favorite drink.
- Participate in “conscious cuisine” – promoted by the Produce for Better Health Foundation, being more mindful of how plants can bring flavor, texture, antioxidants, fiber, and more to a dish. More plant-based eating benefits human and agricultural wellbeing.
- Check out our Better For You Guide for plant-based foods that only contain plant-based ingredients and at least 5 grams of protein.
- Shop with your reusable bags
Some delicious plant-forward recipes:
Vegan Creole Red Bean “Sausage” & Rice Recipe | Price Chopper
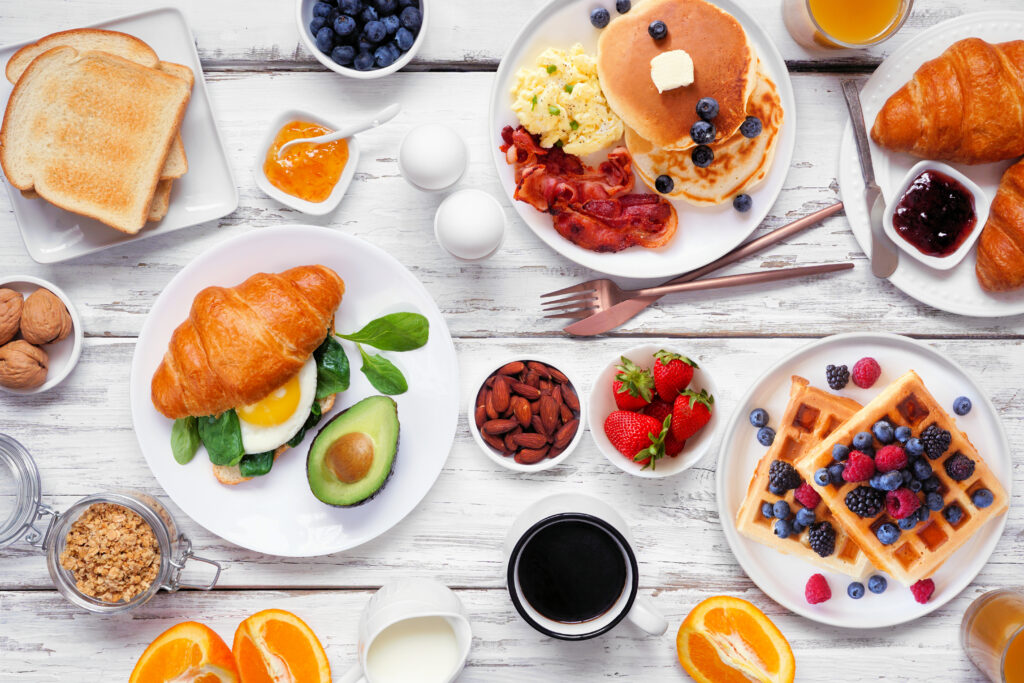
April is National Brunch Month
April is National Brunch Month and we’re celebrating with recipes perfect for spring. Give these a try at your next Sunday brunch – or whenever you have a hankering for something new. Let us know which recipes you’re most excited to try!
California Turkey BLT Egg Wraps: This recipe takes classic California-style ingredients like tomato, avocado, turkey, and bacon, and sets them up nicely in a yummy egg wrap.
Maple-Brown Butter & Thyme Cream Scones: Maple is one of our favorite brunch flavors and these Maple-Brown Butter & Thyme Cream Scones implement it beautifully.
Huevos Rancheros: Huevos Rancheros is a classic Mexican-style brunch dish. Featuring fried eggs served on a corn tortilla, topped with ranchero-style tomato and chili sauce, and accompanied with flavorful, fresh toppings.
Hawaiian Smoothie Bowl: If you’re looking for a refreshing way to start your day, this Hawaiian Smoothie Bowl is the answer. Featuring mango, banana, raspberries, pineapple juice and more.
PB & J Stuffed French Toast: Who doesn’t love French toast and all the ways you can get creative with it? This PB&J version is the perfect example of that delicious versatility.
Bacon Stuffed French Toast Rolls: Staying on French toast…we had to provide a savory option as well, like these Bacon Stuffed French Toast Rolls.
Delicata Squash & Goat Cheese Frittata: Frittata is an Italian egg-based dish, similar to an open-faced omelet. Normally filled with vegetables and accompanying ingredients for a delicious, healthy brunch. Like this version, featuring delicata squash and goat cheese.
Ham & Avocado Toasts with Crispy Parmesan Eggs: And finally, an enhanced avocado toast recipe, featuring delicious ham and eggs with crispy parmesan cheese. Delicious.
Happy National Brunch Month! We hope you enjoy a few of these new recipes.
Check out these video recipes

Market 32 and Price Chopper Launch Spring Drive to Support Local Food Pantries
Market 32 and Price Chopper invite guests across their footprint to help support local food pantries and families in need through a convenient, in-store food drive. From March 15–April 4, guests can purchase a $10 pre-packed grocery bag filled with essential PICS brand items that food pantries consistently identify as most needed. Each bag includes a 16-ounce box of elbow macaroni, a 16-ounce jar of peanut butter, a 10.5-ounce can of chicken noodle soup, a 5-ounce can of tuna, a 15.5-ounce can of kidney beans, a 15.25-ounce can of white corn, and a 5-ounce can of chunk chicken.
Each Market 32 and Price Chopper store will donate the collected bags to a local food pantry serving its community. Store teams coordinate with neighborhood organizations to ensure the food stays local and reaches families in need as quickly as possible. The pre-packed bags will be displayed in the front end of each store, with signage identifying the benefiting pantry.
“Food pantries continue to experience elevated demand as families balance rising costs and everyday expenses,” said Pam Cerrone, director of community relations for Market 32 and Price Chopper. “Our guests are incredibly generous, and this program makes it easy for them to help neighbors who may be struggling to put food on the table.”
Through initiatives like this food drive, Market 32 and Price Chopper continue their commitment to strengthening local communities and ensuring families have access to nutritious, reliable food.

Market 32 and Price Chopper Step Up to the Plate with Spring “Big League Raffle” for Youth Sports Teams
SCHENECTADY, N.Y., March 9, 2026– Local youth sports programs have an opportunity to hit a home run with their fundraising efforts thanks to the Market 32 and Price Chopper Big League Raffle. Teams across the region can sell $5 raffle tickets, giving supporters a chance to win exciting prizes while keeping 100% of the proceeds for their organization. Market 32 and Price Chopper provide the tickets and all prizes, making it a win-win for young athletes, their families, and the community.
“This is an easy, seamless way for teams to raise much-needed funds for uniforms, equipment, travel, and more, with Market 32 and Price Chopper doing the heavy lifting,” said Pam Cerrone, the company’s director of community relations. “Teams sell raffle tickets, we manage the logistics, and much-needed resources to support vital youth athletic programs stay local.”
Prizes include a variety of high-value gift cards, ensuring there’s something for everyone. Tickets are easy to sell and a fun way for community members to get involved while uplifting local athletes and development programs. The spring sports raffle drawing will take place on June 25, 2026.
Teams interested in participating can visit pricechopper.com/big-league-raffle for details.
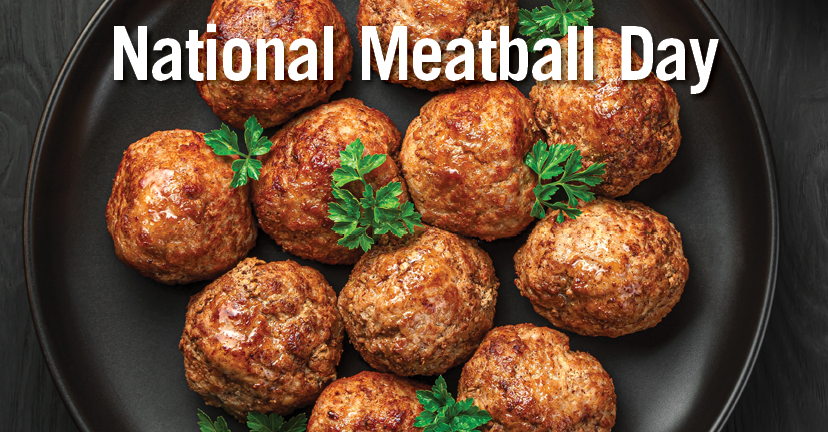
National Meatball Day
It’s National Meatball Day and we’re celebrating with our variety of recipe options. From classic Italian Sliders to Sriracha Chicken Meatballs, and exciting Buffalo Sliders, there’s something for everyone to try.
Tex-Mex Pork Meatballs: Take Tex-Mex further than you ever have with these tasty Tex-Mex Pork Meatballs.
Slow Cooker Sriracha-BBQ Meatballs: Slow cooked to perfection, these Sriracha BBQ Meatballs are worth the wait.
Honey-Sriracha Chicken Meatballs: The sweetness of the honey makes these Honey-Sriracha Chicken Meatballs a 10 out of 10.
Freezer-Friendly Slow Cooker Sweet & Spicy Chicken Meatballs: Who doesn’t love a good sweet and spicy combo?
Lamb Meatball Hummus Bowls: Mediterranean tastes for a delicious and refreshing option.
Italian Meatball Sliders: Can’t go wrong with a classic Italian Meatball Sandwich.
Check out these recipe videos for even more yummy options!

Written by our friends at the American Dairy Association
Simple swaps and smart choices to keep dairy on the menu
For many shoppers, enjoying dairy is less about avoiding certain foods and more about choosing options that fit their needs and preferences. Lactose intolerance—a common condition in which the body has difficulty digesting lactose, the natural sugar found in milk—can influence those choices, but it doesn’t mean dairy has to be off the table.
With a few thoughtful swaps, it’s possible to keep favorite dairy foods part of everyday meals while feeling confident and comfortable.
Start with Lactose-Free Milk
Lactose-free milk is a simple way to enjoy real dairy with added digestive ease. Made from real milk, the lactose has already been broken down, while the taste, texture, and nutrients—like protein and calcium—remain the same.
Lactose-free milk can be used just like regular milk in everyday meals—poured over cereal, blended into smoothies, stirred into oatmeal, or added to coffee. It’s an easy swap that doesn’t require changing how you cook or eat, and it’s readily available alongside traditional milk options at Price Chopper.
Yogurt is a Naturally Flexible Choice
Yogurt is another dairy option many people enjoy comfortably, thanks to live and active cultures. Greek yogurt, in particular, tends to be lower in lactose and higher in protein, making it a satisfying option for meals and snacks.
When shopping, look for yogurt labeled with “live & active cultures,” and enjoy it in portions that feel right for you. Yogurt works just as well in sweet breakfasts as it does in savory dishes, making it a versatile staple in the kitchen.
For easy inspiration, lactose-free milk and yogurt can be used in familiar, everyday recipes without changing how you cook. Build a yogurt parfait for breakfast, blend a smoothie for an on-the-go snack, or use yogurt to create creamy dips for meals and entertaining. These simple recipes make it easy to enjoy dairy in ways that feel comfortable and familiar.
Choose Cheese with Confidence
Cheese lovers have plenty of options, too. Many hard and aged cheeses—such as cheddar, Swiss, Parmesan, and provolone—are naturally lower in lactose due to the aging process. These cheeses are widely enjoyed and add bold flavor to everyday meals.
Sprinkled over salads, melted into recipes, or layered into sandwiches, these cheeses bring richness and satisfaction while fitting comfortably into a flexible approach to dairy.
Find What Works for You
Everyone’s needs and preferences are different—and that’s perfectly normal. Starting with smaller portions, choosing lactose-free milk, enjoying yogurt with live cultures, and selecting aged cheeses can help many people continue to enjoy dairy as part of their routine.
With plenty of options available at Price Chopper, enjoying dairy your way is all about choice, variety, and finding what fits your lifestyle best.
Shop some delicious lactose-free options!