Mia Teal
Marketing Coordinator, Paid Media
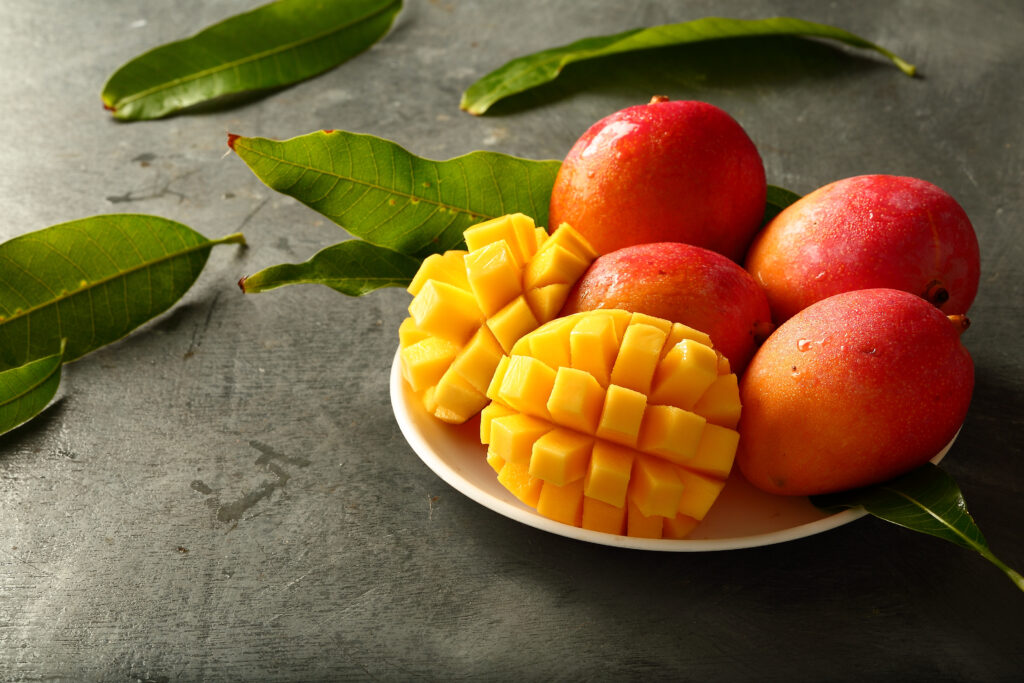
We are celebrating mangoes all July long, and today, July 22nd, we’re kicking it up a notch for National Mango Day! We’re so excited to share our passion for this versatile fruit with you. From enjoying mangoes in their natural state to crafting smoothies or baking sweet treats, we’ll teach you how to select the best mangoes, cut them properly, and more!
How to Choose a Mango:
Unlike other fruits, color is not always the best indicator of a mango’s ripeness. Believe it or not, mangoes come in a variety of shapes and colors. In order to discover if a mango is ready to eat, give it a gentle squeeze. An unripe mango will be firm, whereas a ripe mango will be a little soft.
However, mangoes can be enjoyed at all different stages of life depending on preference. The flavors vary from sour-tart to sweet.
How to Cut a Mango:
Step 1: Choose your mango, of course!
Step 2: Rinse off the mango.
Step 3: Place the mango on a cutting board with the stem end facing up.
Step 4: Cut down along the flat sides of the mango, starting just off-center to avoid the large seed in the middle.
Step 5: Slice from top to bottom on both sides of the seed.
Step 6: Using a knife, make vertical and horizontal cuts in the flesh, creating a grid pattern. Be careful not to cut through the skin.
Step 7: Use a knife or a spoon to remove the mango from the skin.
Step 8: ENJOY!
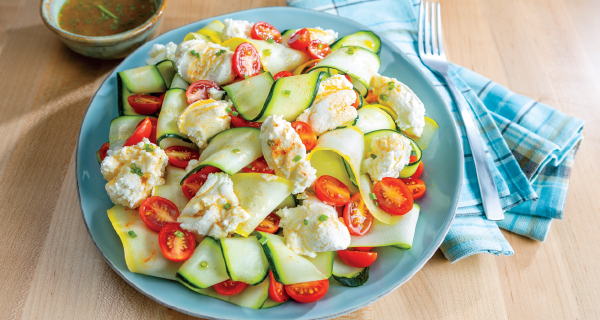
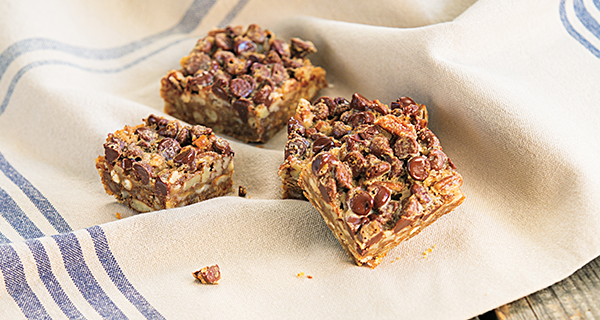
Mango Recipes:
Source:

Mia Teal
Marketing Coordinator, Paid Media
July is National Picnic Month!
Picnics encompass far more than simply enjoying tasty food; they involve gathering friends and family together to embrace the beauty of the outdoors. The warm sun hitting your face while simultaneously smelling the bright flowers awakens the senses and brings joy from one person to the next.
This being said, it’s time to plan your next picnic! Let’s take a look at some local parks to have a picnic as well as delicious recipes for you to make!
New Hampshire
(Colburn Park link takes a minute to load!)
Once you have your picnic location, it’s time to plan what you will bring. Check out some ideas from our recipes site below!

How to Make Ice Cream at Home
Ice cream is an amazing treat! Especially on those beautiful summer nights. But stopping buy your local shop can add up throughout the season. That’s why sometimes it’s nice to make your own homemade ice cream. It can sound intimidating, but it can actually be super easy. Here’s our guide to making ice cream at home!
The easiest way to make ice cream takes only four ingredients, a mason jar, and just a bit of elbow grease. 1 cup of heavy cream, 1.5 tablespoons of granulated sugar, .5 teaspoons of vanilla extract, and a pinch of salt is all it takes. Add these ingredients to a mason jar, twist the lid on tight, and shake. This is where the elbow grease comes in. The mixture needs a good shake for 4 to 5 minutes, if you can call in some backup or other members of the household that will certainly help. Just tell them they will be getting ice cream out of the deal!
Once it’s nice and shaken, the mixture will have doubled in size and nicely coats the back of a spoon. Once you’ve reached this point you know you’re ready for the next step…freezing! Store the jar in the freezer and in about 3 hours, you should have created firm, scoopable ice cream. This is the simplest way, but definitely add in your own flavorings to the base or toppings to the final ice cream product.
You can also make ice cream in plastic baggie at home. Add the same ingredients to small, resealable plastic bag, make sure all the excess air is out and the bag is sealed tightly. Meanwhile, combine salt and ice in a large resealable plastic bag. Place the small bag inside the large bag and shake, elbow grease again, but this time for 7 to 10 minutes, until the ice cream hardens. Remove from the bag and enjoy!
Sources:
https://www.delish.com/cooking/recipe-ideas/recipes/a54721/ice-cream-in-a-bag-recipe / https://www.mentalfloss.com/posts/how-to-make-simple-homemade-ice-cream


