 It’s almost time to start preparing your pumpkins for Halloween night! When selecting the perfect pumpkin this Halloween, look for pumpkins with flat bottoms, which won’t roll away. Also, a sturdy stem helps for carving and is a sign of a healthy pumpkin! Remember not to lift the pumpkin by its stem because this could damage the stem and make it age faster. As usual, discoloration and soft spots are unfavorable when it comes to picking great pumpkins!
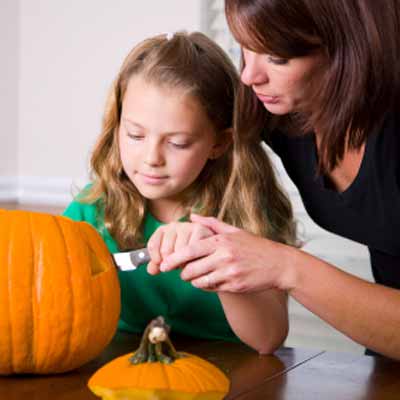
Once you have picked the perfect pumpkin, the opportunities to decorate are endless! Whether you decide to paint your pumpkin or to carve it, we have some tips to help this Halloween season! Before you carve your pumpkin, there are some preparations that must be done! First, cut off the lid of the pumpkin by angling the edge of the saw or knife (this prevents the lid from falling in). The next step is to remove all the ‘guts,’ seeds, and strings from the pumpkin. Scrape down the inside of the pumpkin with a scraper, leaving the front of the pumpkin about an inch thick—perfect for carving! Now that the preparation is over, you are ready to start carving!
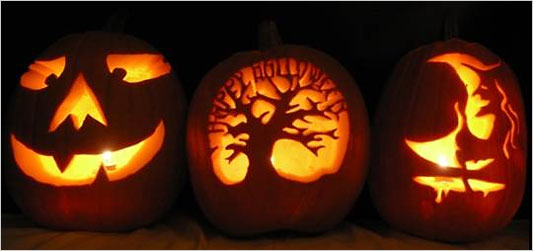
 When carving your pumpkin, there are special tools that can make a big difference in detail! Pumpkin saws, drills, scrapers, knives, and pins are all tools that can help in the carving process. Saws of different lengths and teeth spacing determine how well they will work for tight areas. Small saws with short teeth and ideal for high detail designs! Scrapers are great to make the back wall of the pumpkin smooth—this is where the reflected light comes from. Lastly, pokers are used to transfer your desired pattern onto your pumpkin; these make the carving process a lot easier! Remember to saw slowly and gently for safety and best results!
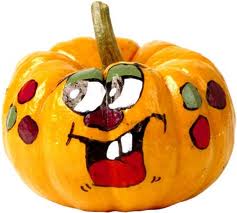
 For those experimenting with painting their pumpkins, here are some helpful hints! Clean your pumpkin well with a damp paper towel and dry it well. For best painting results, paint the whole pumpkin first with multi-purpose sealer and let it dry (usually takes a couple of hours to dry completely). After you have the first coat, you are ready to create your masterpiece! Draw a face or pattern onto your prepared pumpkin with a permanent marker to start. You can also try using different techniques such as using masking tape to create unique designs! Paint your pumpkin using a wide, soft brush. Wait until the first coat dries before starting the second coat of paint.
The last step in either process is to proudly display your completed pumpkin—have fun!
Written by Sylvia Geiger MS, RD, CD, Price Chopper Community Nutritionist
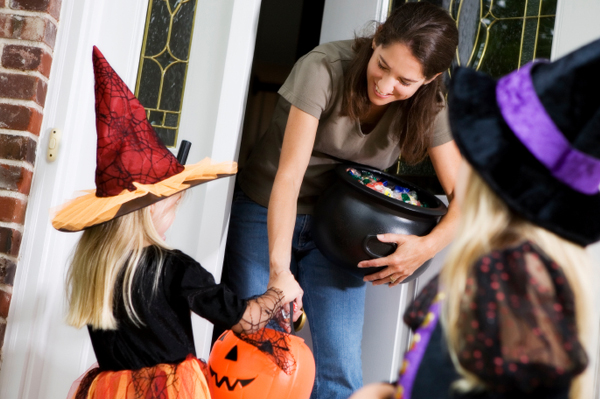
I remember pouring out sacks of trick or treat candy on the living room floor, organizing them into piles of “like” and “don’t like” followed by boisterous trading with my brother. I was a pudgy kid with a mouth full of fillings and a 5-pound Halloween haul was the last thing I needed. But I loved Halloween (and still do), what fun to get dressed in my costume and eat all the candy! My mother tried rationing it some years while other years she let me eat until I was sick—but you see—there’s just no parent-approved way to deal with Halloween. I had the same trouble with my own kids. From a kid’s perspective Halloween is all about fun and sweet indulgence, my kids scoffed when they were treated with pencils or toothbrushes. They felt gypped—and they weren’t alone. But I think things are changing. With the heightened awareness of food allergies and childhood obesity, non-candy Halloween treats are becoming more acceptable both to give and to get. So this year try giving out some of these budget-friendly non-sugary Halloween treats.Food Treats
100% fruit rolls or leathers
Mini bags of goldfish, pretzels or even chips
Mini bags of sunflower or pumpkin seeds- not for the littlest, may be a choking hazard
Mini bags of nuts- careful of allergens!
100% juice boxes or flavored waters (Use the NuVal scores to choose the best)
Non-Food Treats
Temporary tattoos
Party Favors
Mini erasers
Glow sticks or glow necklaces
Mini paper pads of paper
Goodie bags with little items such as hair clips, or Band-Aids with characters
Another way to celebrate Halloween is by throwing a themed party. Try these Halloween kid friendly recipes where the focus isn’t on the candy but rather on the fun of the holiday.Quick Ideas for Kid Halloween Party
Note: Most of these recipes, but not all, are low in sugar.
Creamy Orange Dip with cut up apples
Honey Mustard Dipping Sauce for veggies
[slideshow]


